Growing microgreens in your home is a great way to supplement a healthy diet while developing a green thumb. Growing microgreens at home is very easy, rewarding and takes up minimal space and resources. The turnaround time is quick, sowing seeds to harvesting typically takes a few weeks and you can always ensure a relentless supply of healthy greens if you follow this growing guide.
While you can grow different types of microgreens like Kale, basil, broccoli, radish, alfa-alfa and more, in this video, we will walk you through growing fenugreek and pea microgreens using aluminum trays. ?We pre-soaked the fenugreek and pea seeds for 4-6 hours and they are ready for planting.
We are using three aluminum trays and have drilled about 15 holes in the bottom of one of the trays. This will be our growing tray that we will use for sowing seeds, so we want to make sure it gets enough drainage. Now, we need to assemble the growing tiers. The bottom most tray will act as a water reservoir and we will place the central tier which is the tray with drainage holes on top of the water reservoir. This central tier will be our growing tier and we have added a mix of fine coco-coir from VermisTerra in this tray along with some earthworm castings. Coco-coir is one of the best soil mediums you can use to plant microgreens. Usually microgreens do not need any nutrition like Vermicompost, but if you want to go a step further, you can try adding earthworm castings so they can provide nutrition to your microgreens so they can grow larger leaves. Once you add the growing medium to your central tier/middle tray, sprinkle the pre-soaked seeds evenly around the surface of the growing medium, these microgreens will be growing quite close to each other. After sowing mist with water to keep the seedlings moist, its an important step because you need adequate moisture for germination of the seedlings. Once this is done, you can add a third tray/upper tier over the soaked seeds and add some weight to this tray. This way the seeds in the middle tray sinks and gets evenly dispersed in the growing medium. This will result in the production of good quality microgreens. You can keep the weight on the upper tray for two days after which you can remove the upper tray.
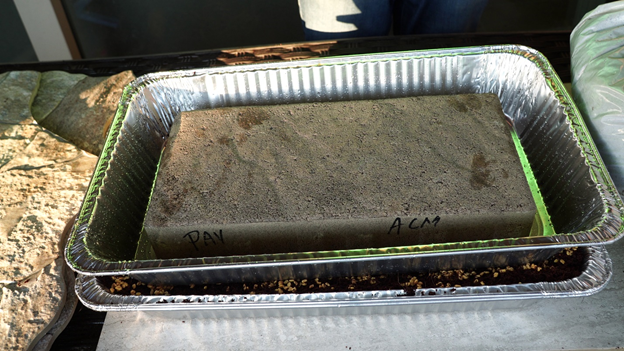
Growing tier weighted by upper tier using pavers
You will notice that some of the seeds have germinated. Microgreens in the initial growing stage requires a lot of water to germinate so make sure you have a sprayer ready and mist the soil regularly to keep the seedlings moist. After 2 days have passed add the bottom tier/water reservoir under the growing tier and fill a bottle of water to the bottom tray/tier each day. This method of watering microgreens prevents mold and bacteria from developing in the growing tier/tray as the surface stays relatively dry and results in good quality microgreens.
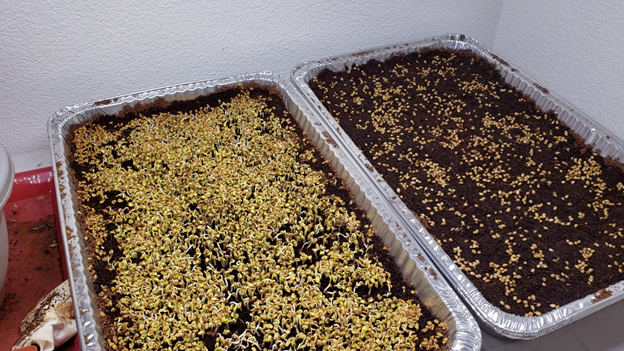
Seedlings germinating

Filling bottom tray with water
The microgreen roots will suck water up from bottom tray to meet it?s growing needs. You can observe your greens grow taller each day and will soak up more water as they mature.
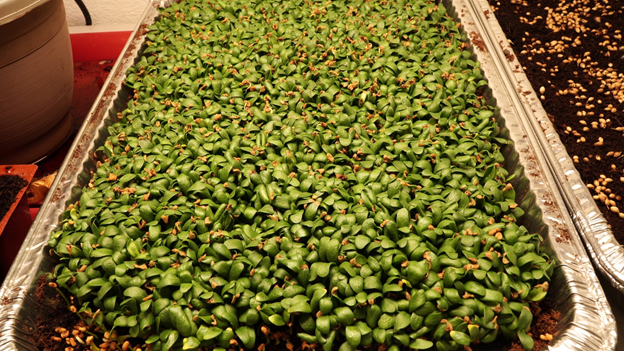
Fenugreek microgreens
Keep checking the bottom tray/water reservoir to ensure the microgreens have adequate moisture to thrive. Most microgreens can be harvested within about 7 to 15 days after the first set of leaves appear. But if you are growing for greens you can wait longer to harvest until the greens have grown taller. We harvested our fenugreek greens at 30 days as we wanted our greens to be longer and pea microgreens at 15 days and they tasted sweet, crunchy and had a distinct pea flavor. After harvesting you can throw the remaining soil in your compost bin.
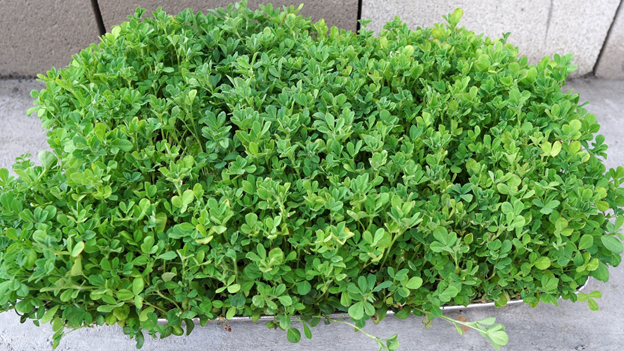
Fenugreek microgreens ready to be harvested
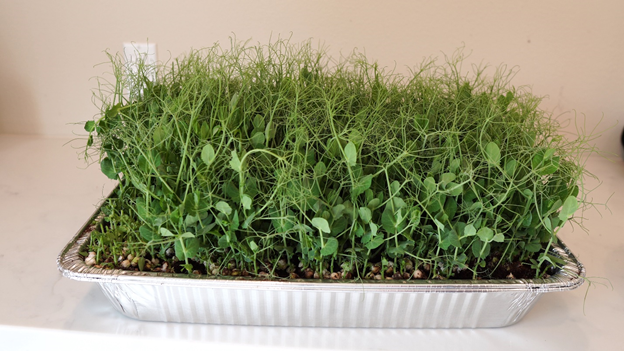
Pea microgreens ready to be harvested
Microgreens are very healthy like sprouts and have a greater nutritional value. You can add them to a variety of dishes, and they act as a great accompaniment to soups, salads and smoothies. To know more watch our video “How to Grow Microgreens from Start to End – Complete Microgreens Growing Guide“.
Hi,
I live in Los Angeles and have been following your channel for gardening tips, wanted to know do you sell plants? I was interested in Curry leave plants or seeds.
Thanks for all these wonderful instructions on how to grow microgreens. I love how you incorporate all the necessary steps and make it easy for anyone to grow microgreens. I also love your choice of coco coir for the soil but I just wanted to let your readers know that they can also use a good organic potting soil, in case they don’t have access to coco coir.